
Transparent-background logo
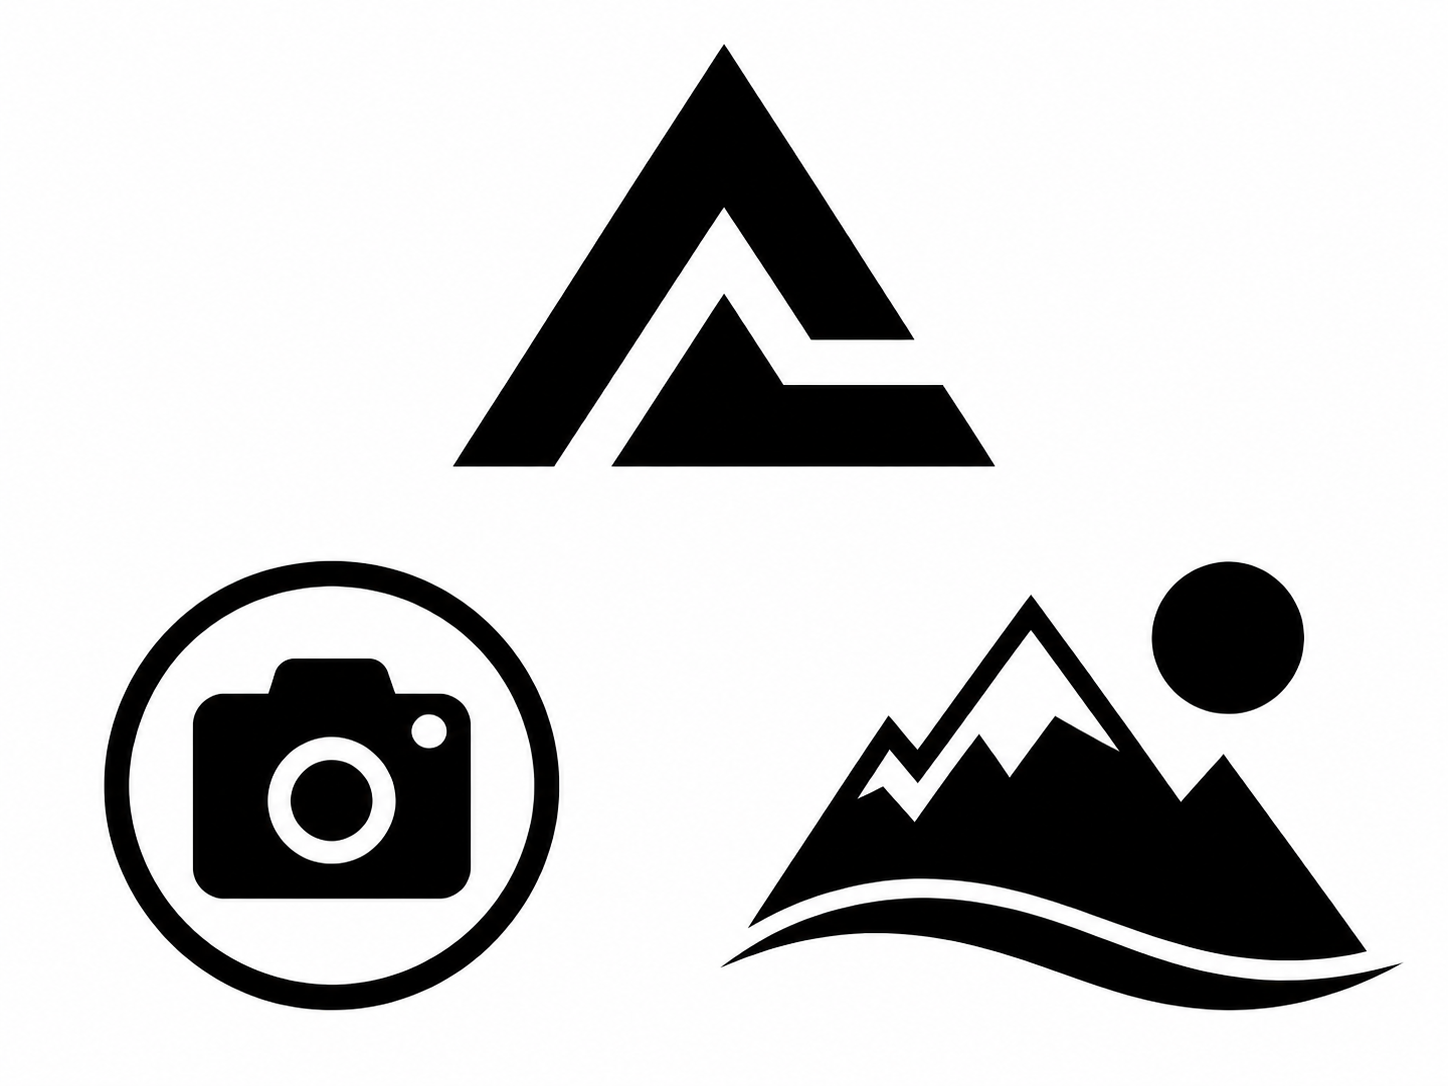
You can try a transparent PNG logo with a clear edge and separated shapes.
This PNG-to-DXF converter is for logos, icons, line drawings, and clean graphics with separated shapes. Transparent or plain backgrounds can simplify tracing, but inspect the resulting contours before you use the DXF.
Separated shapes and clear backgrounds make visible edges easier to trace.
Format examples
This PNG example shows how transparent or plain-background artwork enters contour tracing; compare it with the source and review it in CAD.
COMMON USES
These are common uses, not an exhaustive list. If the target outline is clear, upload it first to inspect a real preview.
The cards show input ideas, not guaranteed results. Upload your own file to inspect the real preview.
You can try a transparent PNG logo with a clear edge and separated shapes.

You can try separated icons, geometric shapes, or flat-color graphics with little background noise.
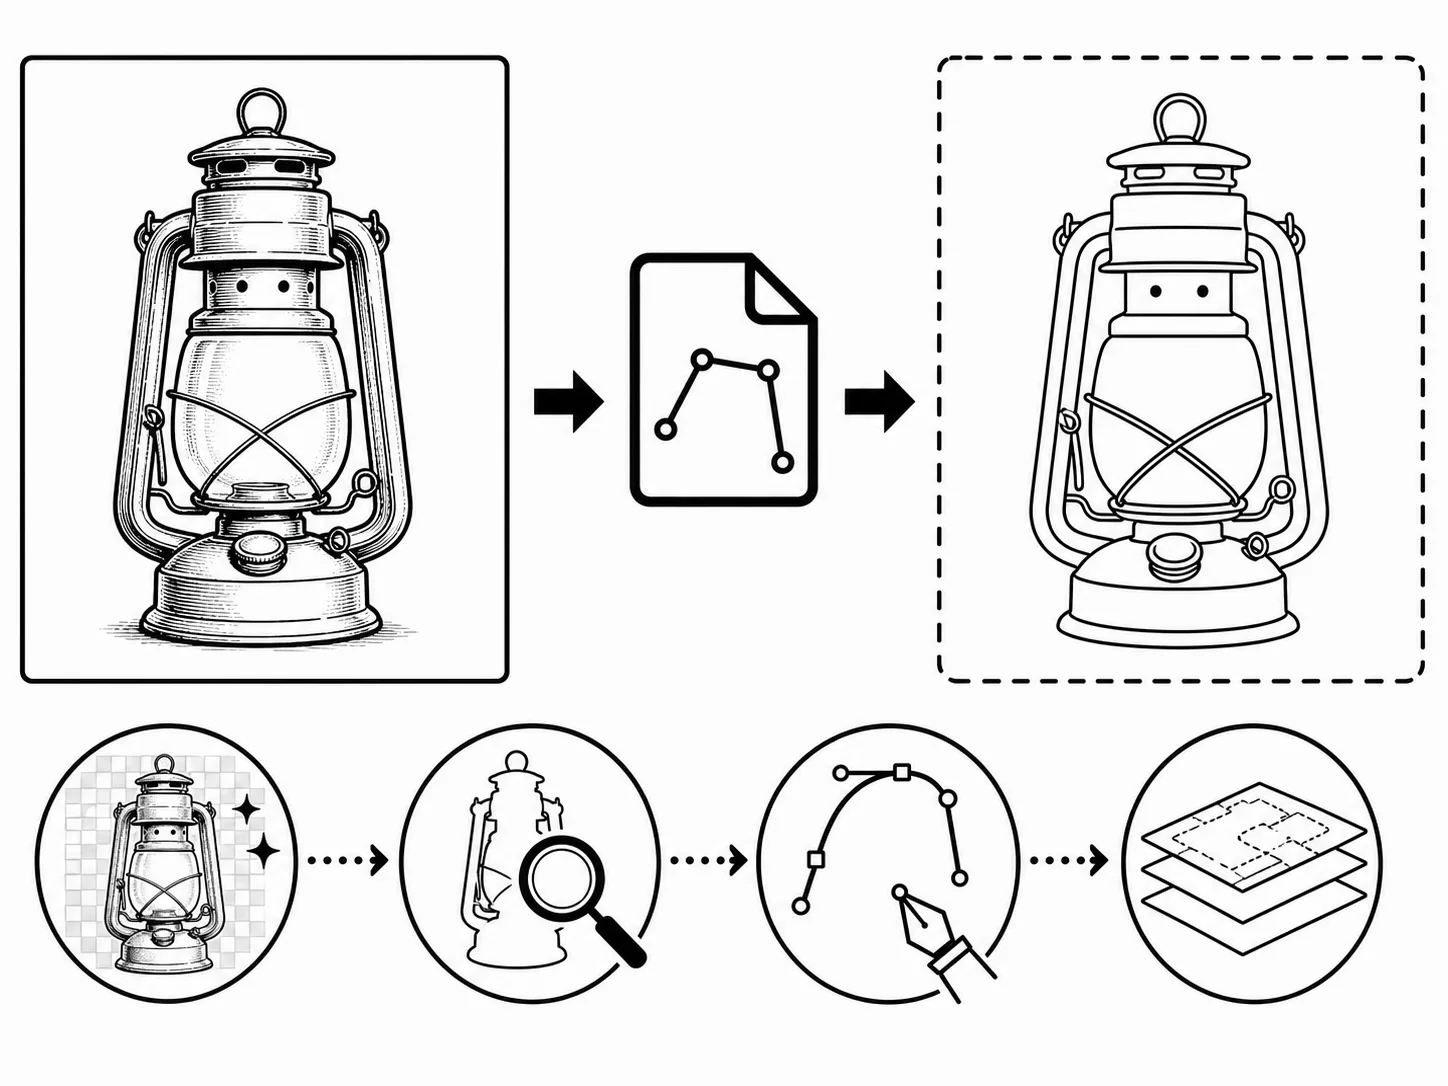
You can try a black-and-white drawing where the target contour and necessary inner lines are visible.
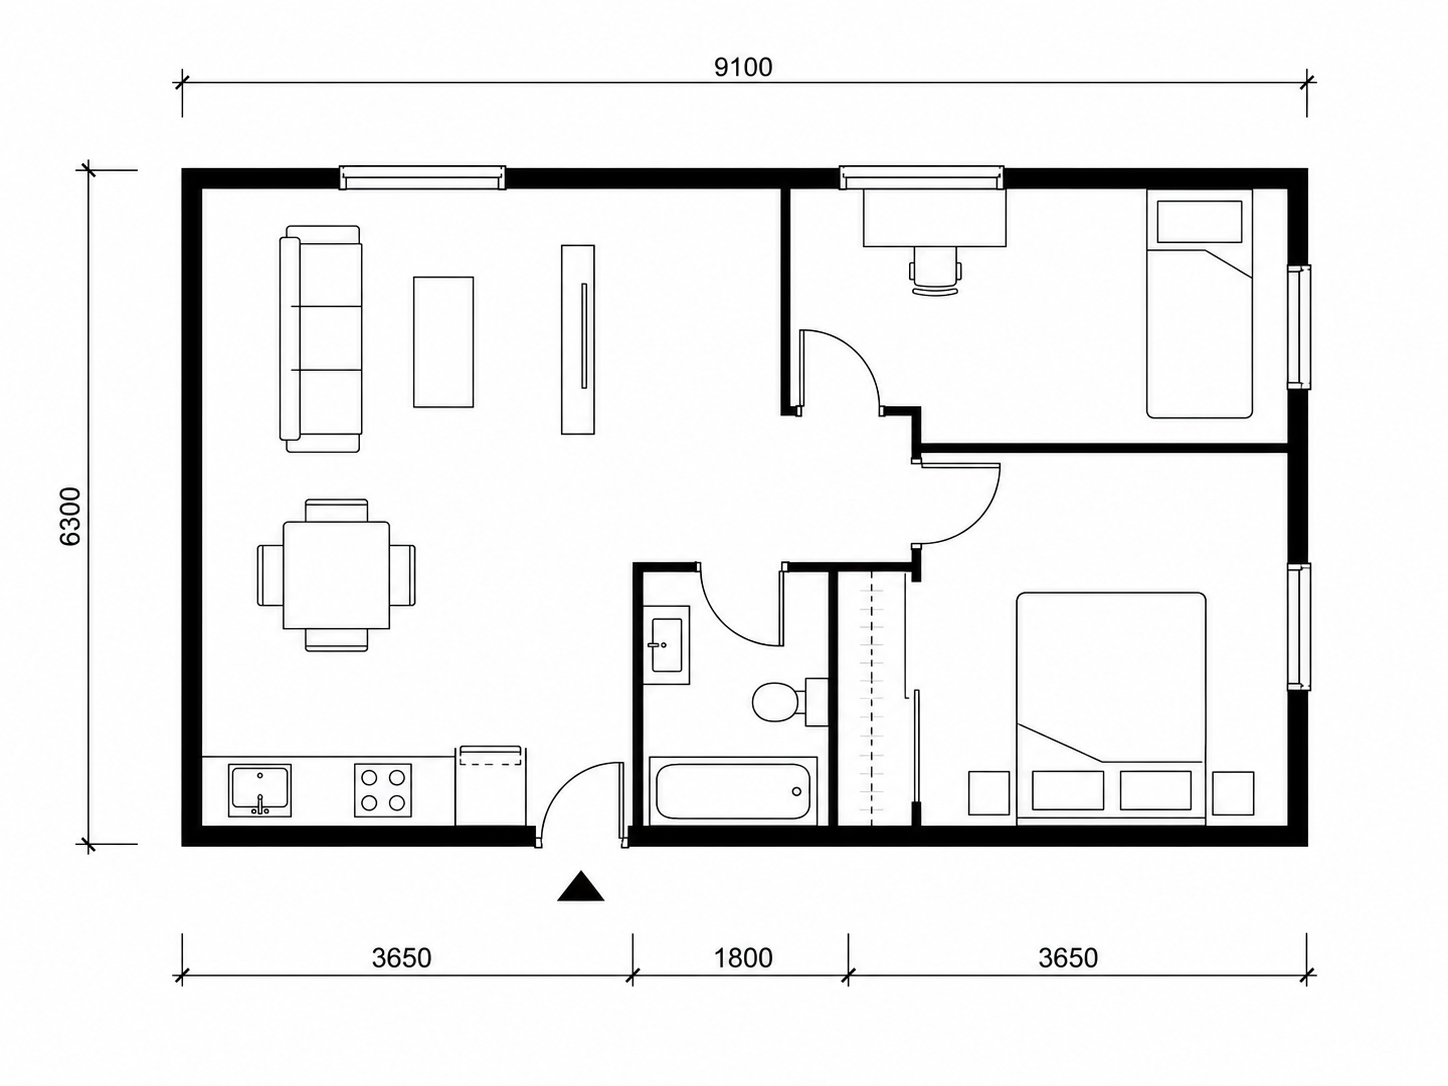
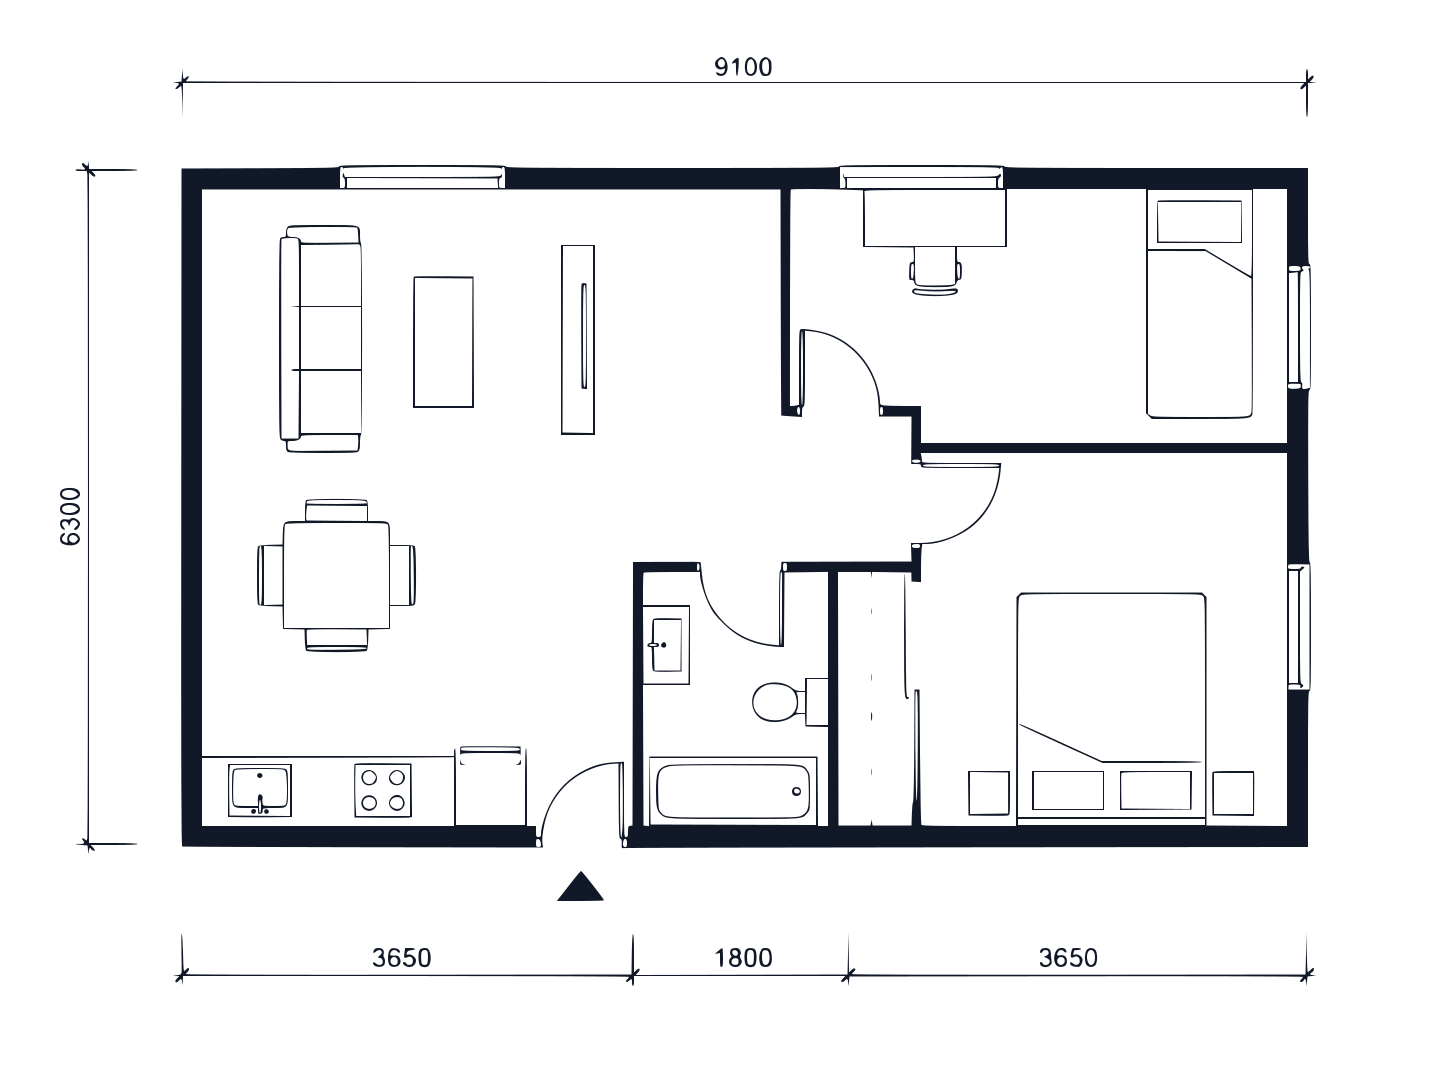
You can try a clean floor plan or template outline; dimensions and CAD suitability still need separate review.
Before you upload
The converter traces visible pixels into paths. This quick check prevents spending credits on images that need cleanup or a different workflow.
PNG-to-DXF workflow
Start with a clean PNG graphic, inspect visible edges, and then review the DXF geometry.
Choose a PNG up to 10 MB with a simple background and separated contours.
Check transparency edges, anti-aliasing, shadows, and small details for extra paths.
Confirm scale, closed shapes, curves, and compatibility before continued use.
PNG to DXF traces visible edges; it does not recognize semantic layers, real-world dimensions, or manufacturing information.
Engine version
potrace_fixed_v1
Conversion pipeline
User-supplied floor-plan bitmap → PNG → Potrace → SVG → DXF
Recorded files
CAD review status
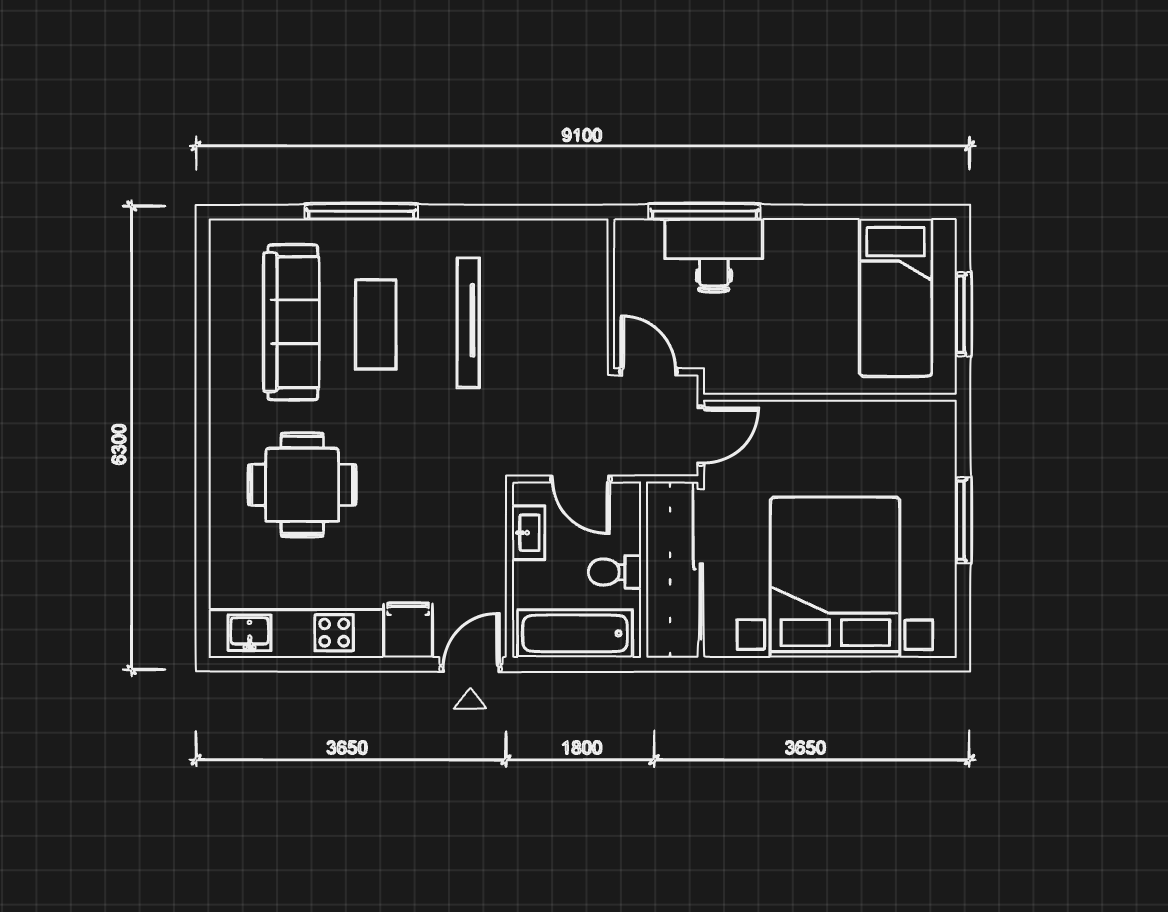
CAD review metadata pending
The CAD software, version, import options, and review conclusion still need to be recorded.
Source explanation
Technical details keep the source conditions and conversion path available for deeper review.
PNG-to-DXF FAQ
Choose by input format
Choose the page that matches the source file. Each dedicated tool provides input guidance and checks tailored to that format, while the general page remains the WebP and mixed-format entry point.
Remove background clutter and strengthen the lines before tracing to DXF.
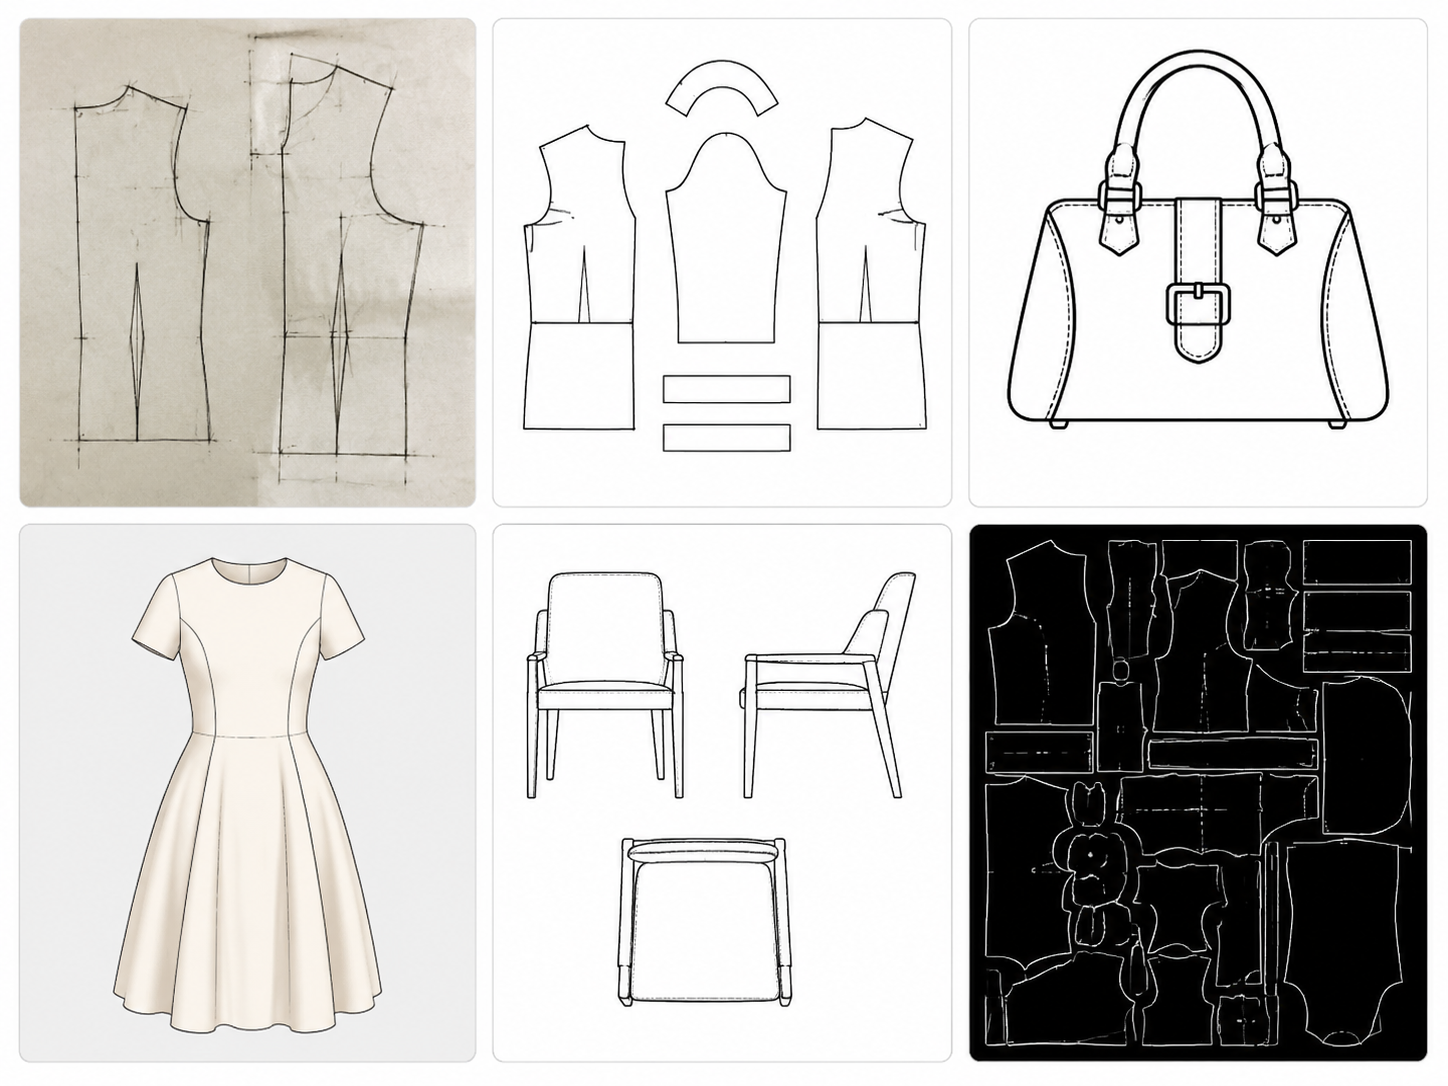
Use calibration and pattern-specific checks when physical dimensions matter.
Learn how raster tracing works and what to inspect after conversion.
This image-to-DXF converter is for WebP or mixed-format sources. It traces visible contours into a reviewable DXF draft; check scale, curves, and closed shapes in CAD before downstream use.
This JPG-to-DXF converter is for original or high-quality JPG/JPEG files with clear edges. It suits line drawings, logos, templates, and high-contrast graphics; crop empty margins and avoid repeated compression before tracing.
This SVG-to-DXF converter is for SVG files with editable paths, shapes, and curves. Convert text to outlines first; after conversion, verify supported geometry, units, layers, curves, and closed paths in your target CAD workflow.