
How to digitize a sewing pattern into a reviewable DXF draft
A useful pattern digitization workflow preserves physical scale, keeps the source visible, extracts only supported contours, and ends with ET/CAD review. These five steps make each assumption inspectable.
Candidate keyword page based on current user-language research; no claim of verified search volume is made.
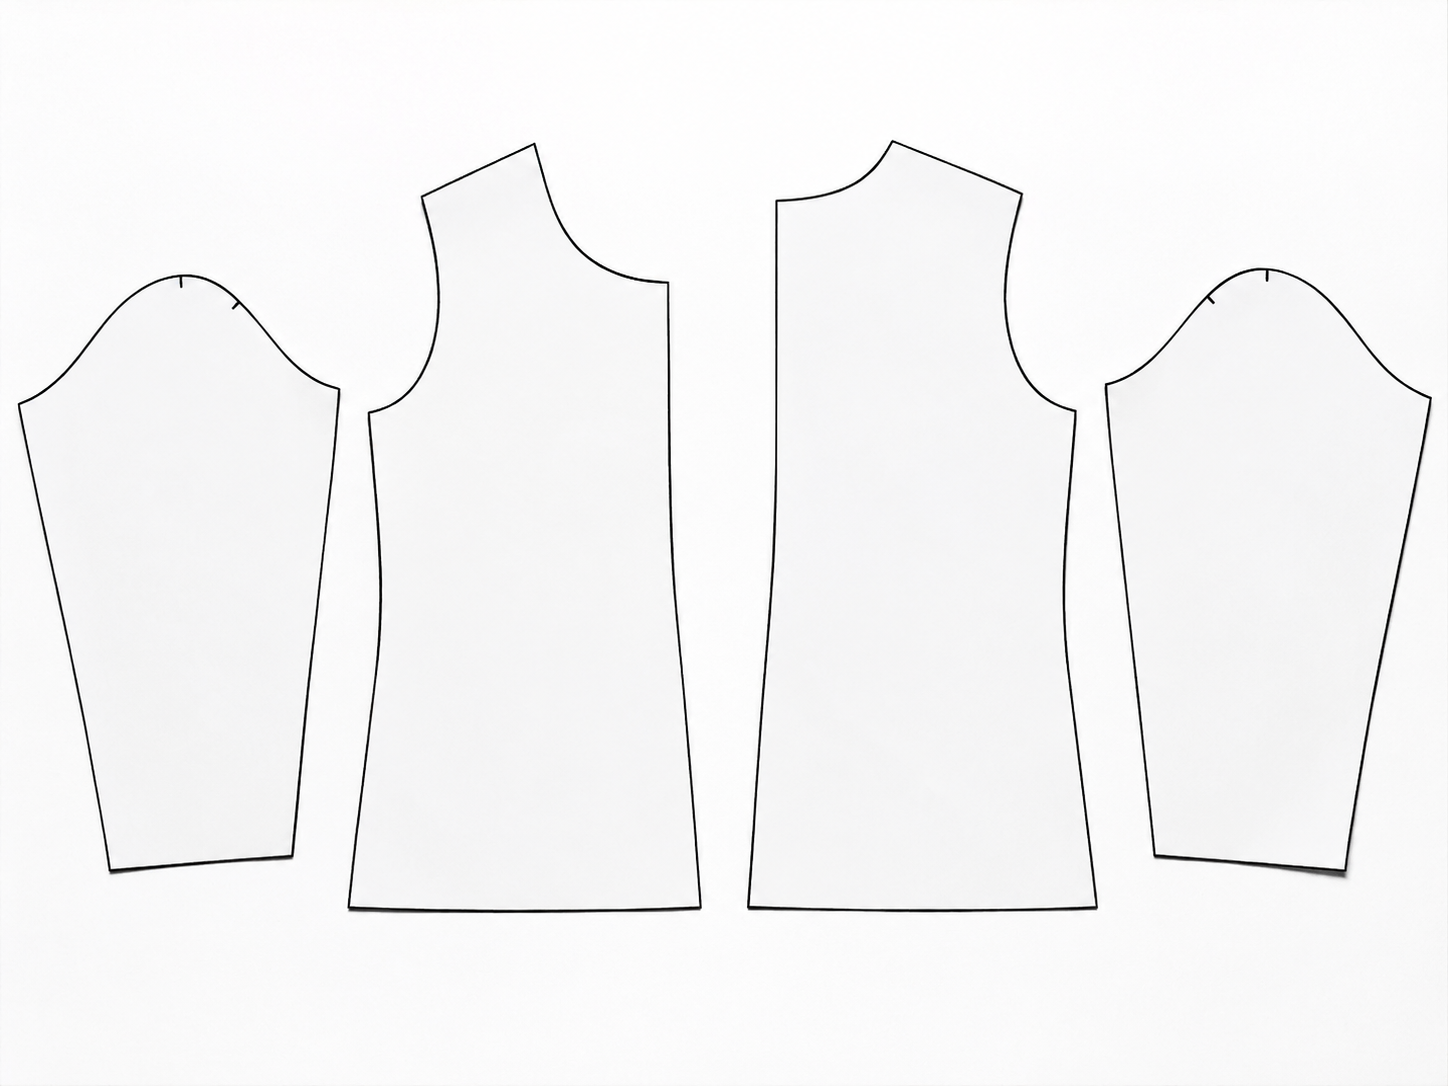
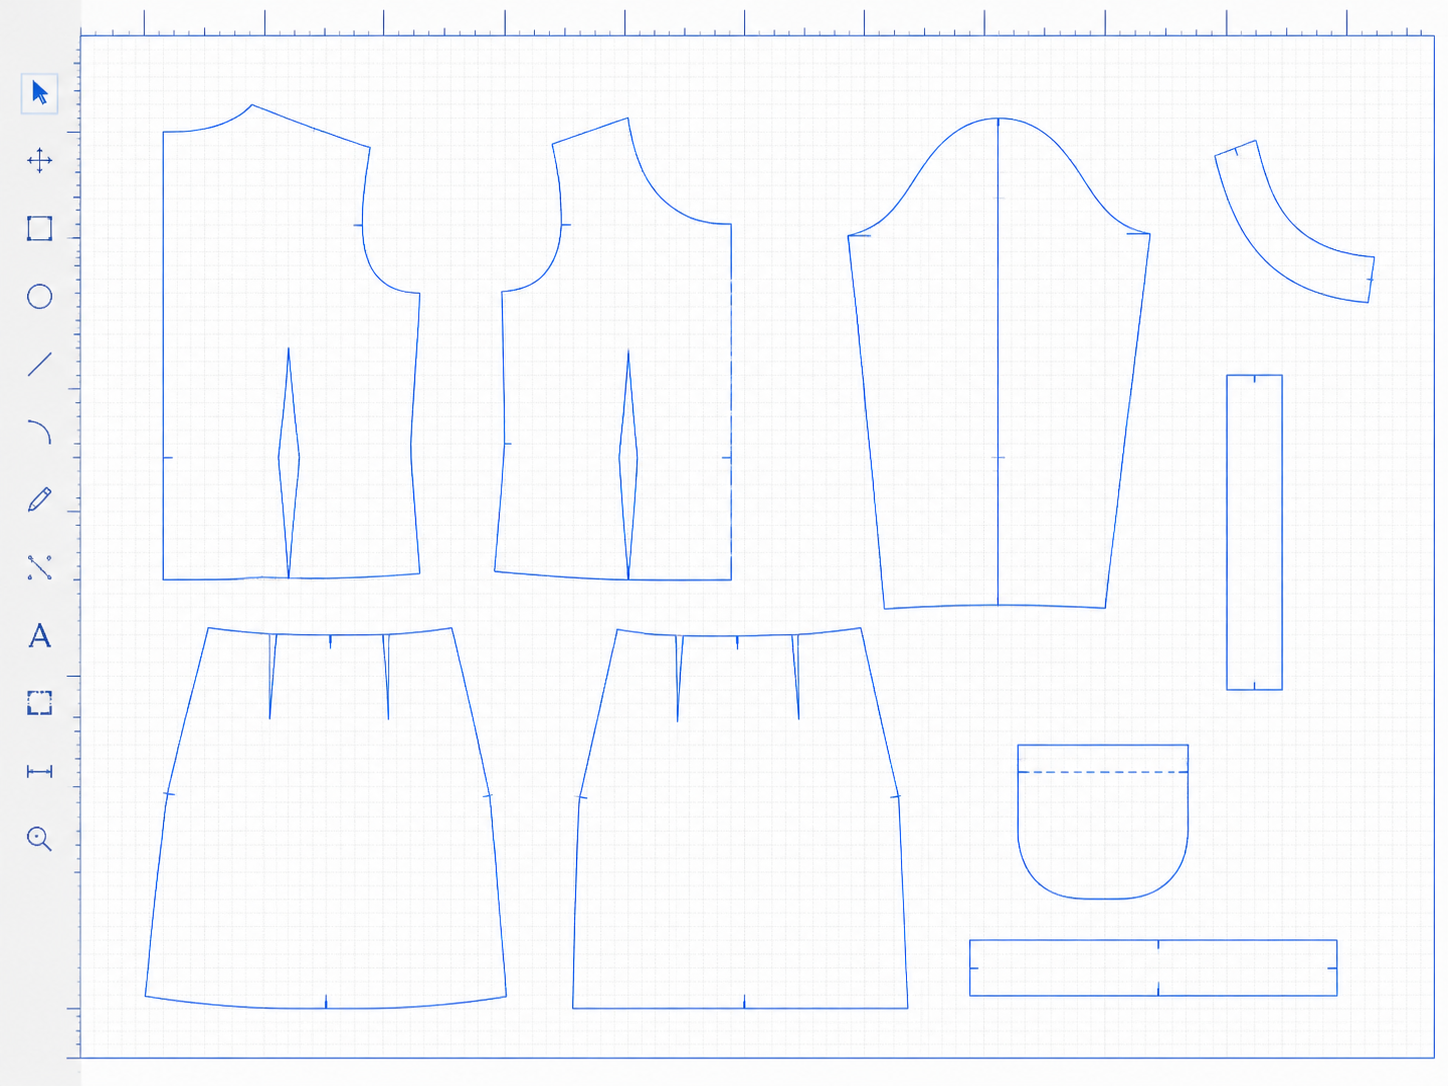
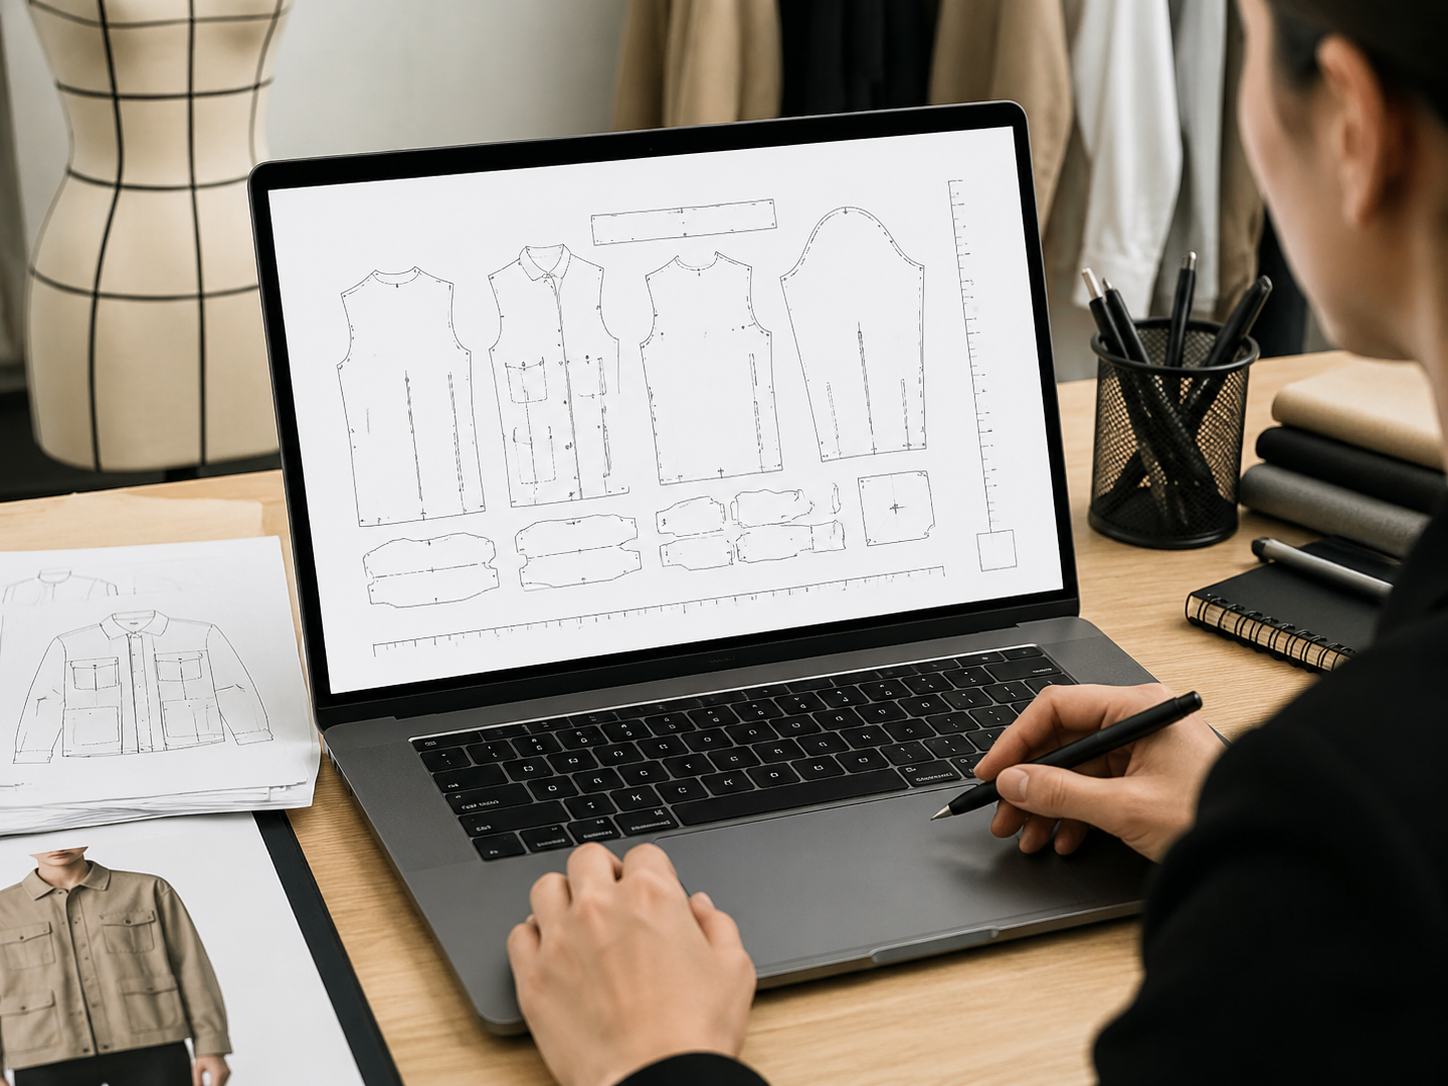
FIVE CHECKPOINTS
From paper to CAD without losing the scale trail
Do not start with contour extraction alone. Physical calibration and final review determine whether the draft is useful.
Input checklist before conversion
- The entire piece is visible and not cropped
- The image is sharp, flat, evenly lit, and high contrast
- At least one physical dimension or scale is independently known
- You know which lines are outer contours and which require manual interpretation
Stop when the image hides the answer
Perspective distortion, folds, hands, weights, annotations, intersecting lines, low contrast, and missing edges can make automatic extraction unreliable.
If a contour must be invented to close the piece, mark the sample as borderline or unsuitable and return to the source instead of hiding the assumption.
FAQ
Sewing pattern digitization FAQ
Test the workflow on one representative piece
Keep the source, overlay, DXF, and ET/CAD result together. Record whether the draft opened, what still needed manual work, and how much tracing time it saved.